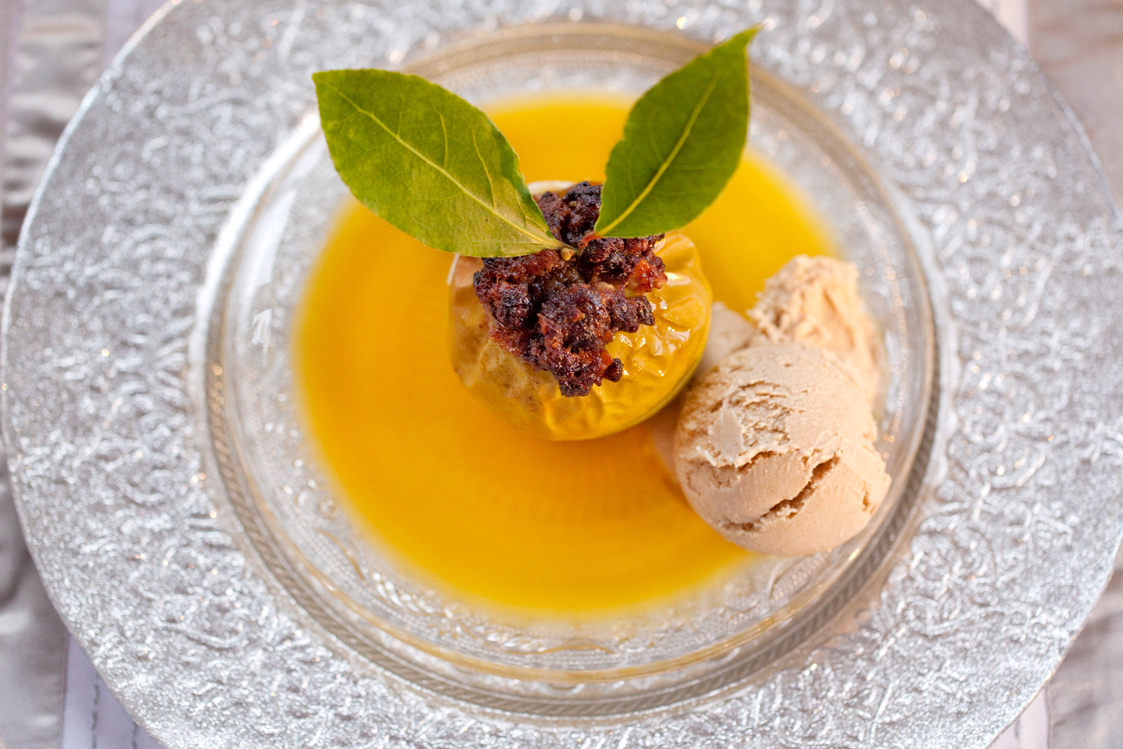
Ta-dah! Here is Primal Plate’s festive finale to your Christmas lunch or dinner, which was Inspired by Michel Roux Junior’s great food demo at the BBC Good Food Show, November 2015.
This recipe is my interpretation of Michel’s alternative Christmas dessert: Mincemeat Stuffed Apples served with Muscovado Ice Cream. Obviously, for people following a low-carb, Primal lifestyle, this meant I needed to replace the sugar-laden ice cream and traditional mincemeat with something much healthier.
Nevertheless, Mr Roux and I were always on the same page - as referenced in my blog post dated 20th November 2015. Baked apples are a delicious, easy-to-make, classic, seasonal treat at this time of year, but when combined with the sweet spices of Christmas, it’s a ‘pud’ to die for! Better still, my baked apples are cooked in fresh clementine juice - orange juice would do just as well - which, when the apples are cooked, can be quickly made into a tangy syrup to accompany them. Served with cinnamon and nutmeg spiced Horchata Ice Cream, this is truly a marriage of festive flavours made in foodie heaven!
Quite sophisticated and not too sweet, these really yummy Christmas Baked Apples in Clementine Syrup are a much lighter option than traditional Christmas pudding. I hope you like them.
Merry Christmas everyone!

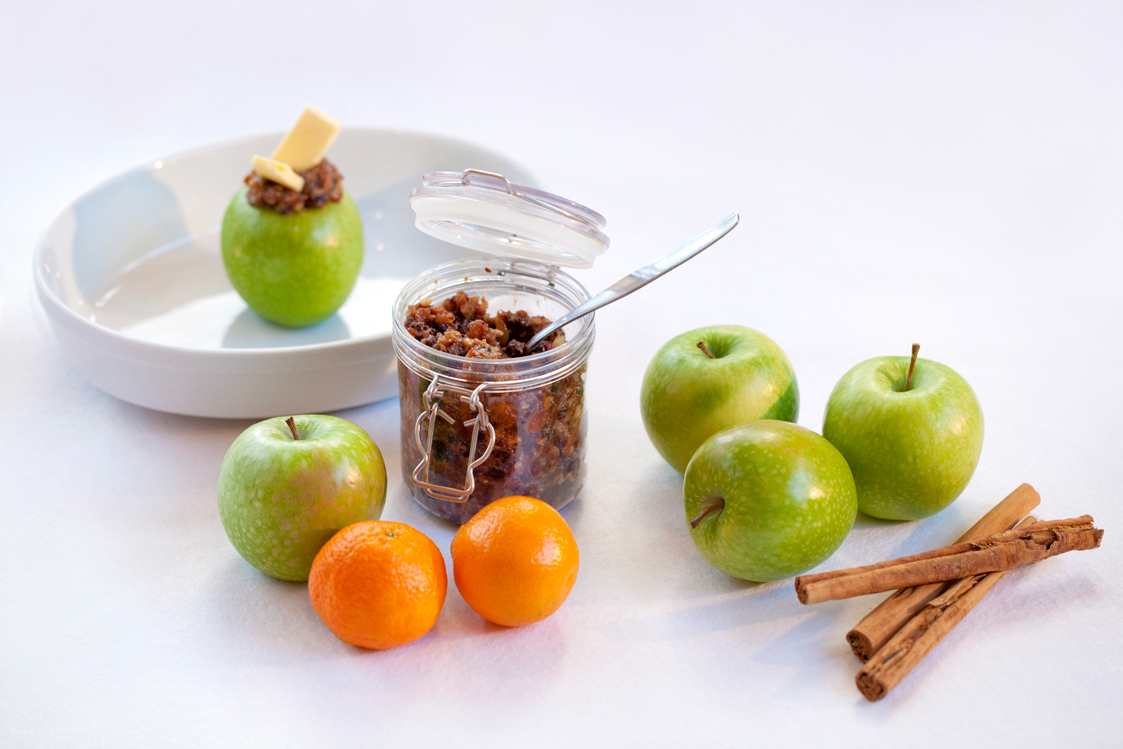
Christmas Baked Apples in Clementine Syrup
Ingredients
4 largish eating apples e.g. Cox’s, Braeburn or Granny Smith’s
180g-200g low-sugar mincemeat
2 tsp Sukrin Gold
½ tsp cinnamon
40g unsalted butter, cut into eight pieces
Juice of 6 clementines (or 2 oranges)
Fresh bay leaves, to decorate
Instructions
Pre-heat the oven to 160℃ / 325℉ / Gas mark 3
Core the apples - sit the apples on a chopping board and push an apple corer into the centre of each one. Make sure each apple stands upright of its own volition and, if not, take a tiny sliver off the bottom to ensure it will!
Using a small sharp knife, lightly score the apples around their circumference - this will stop them from bursting.
Stand the apples, side by side in an ovenproof dish. Using your fingers, push spoonfuls of the mincemeat tightly into each apple. Be generous - you’ll need between 40g to 50g mincemeat per apple - create a nice dome of mincemeat so it stands proud on top!
Push two wedges of butter into the mincemeat on top of each apple, then add ½ teaspoon of Sukrin Gold and a good pinch of ground cinnamon in-between the butter wedges. Pour the clementine (or orange) juice around the base of the apples.
Place on the middle shelf of a pre-heated oven. Bake for 45 to 50 minutes until the apples are soft but not collapsed.
Remove from the oven and carefully place one apple on each of 4 serving plates.
Press the remaining juices through a small fine strainer into a saucepan and boil rapidly over a high heat until reduced down to a syrup (this shouldn’t take much more than a minute or so)
Spoon the clementine/orange syrup over and around the apples, dividing it equally between them. Serve with a scoop of Horchata Ice Cream on the side and decorate with sprigs of bay leaves.

Notes
If you haven’t any Horchata Ice Cream, these Christmas Baked Apples are still very good served with whipped cream flavoured with a little Sukrin icing sugar and Calvados brandy or simply a dollop of crème fraîche.
It’s Christmas, so ’tis the season to be jolly. This means I’m not going to declare the carbohydrate count of this dessert! Suffice to say, whilst most fruit, especially dried fruits, contain a lot of natural fruit sugar, these stuffed apples have approximately 40% less carbs than a portion of luxury Christmas pudding. If you’re worried (and I wouldn’t be since this is a celebration!) opt for a dollop of almost zero-carb luxury crème fraîche rather than the Horchata Ice Cream. Above all, enjoy!