The heartbreaking news about Cecil the lion continues to haunt me. It isn’t just the immorality of seeking out and killing magnificent endangered species of wild animals for ‘game’, it’s also the general lack of reverence for animals and nature, prevalent in today’s society, which I find so depressing. Who’d think to dye baby chicks neon colours and then seal them inside plastic bags to sell as toys? Closer to home, I’ve just stood and watched a motorist swerve his car across to the opposite side of the road outside my house to deliberately run over a female blackbird that was foraging for insects in the verge!
I’ve been teetering on the brink of eliminating all meat from my diet for a long time, but a constant stream of ugly events, symptomatic of a worldwide epidemic of insensible violent acts against the environment, other people and animals, have pushed me over the edge. It isn’t just a question of killing animals for sport. Whilst ever beautiful vegetarian food is available, why raise innocent sentient beings and subject them to systematic cruelty, mutilation and suffering before destroying their bodies in an industrialised slaughterhouse designed to kill 200 animals per minute? Just to eat? What for?
The fact is, an abundance of delicious, healthy, life-giving vegetarian food IS available, so what need is there to continue the very crude, primitive, uncivilised behaviour involved in destroying a body to eat its flesh? If you think this is okay, why not eat dogs, cats and horses? Or, to take the okay-ness and disconnected-ness of killing unevolved animals for food to its logical conclusion, it's just another step away from killing evolved animals for food, a.k.a. cannabilism. Enough now.
Primal Plate is committed to sharing recipes that are more in tune with compassion, beauty and love - how life should be lived - rather than the inhumane behaviours associated with eating factory farmed meat.
Sir Paul McCartney sums it all up: "If anyone wants to save the planet, all they have to do is just stop eating meat. That's the single most important thing you could do. It's staggering when you think about it. Vegetarianism takes care of so many things in one shot: ecology, famine, cruelty”.
Primal Plate wants to pave the way for healthy, nutritious, vegetarian, Primal-friendly alternatives to meat that won’t compromise on your foodie sensory pleasure. Quite the opposite in fact. Vegetarians all too often turn to grains and legumes to pack out their meals, but unfortunately these foods contain anti-nutrients, are pro-inflammatory and can ultimately make you fat and diseased. All Primal Plate recipes are created without the unhealthy ‘bad boys’ - grains, legumes, refined sugar, processed seed oils - but look equally as good, and often taste much better, than their gluten, lectin, trans-fat riddled counterparts. Making meat-free meals is aesthetically more appealing because vegetarianism respects life and doesn’t disconnect people from the suffering caused by them consuming “corpse and two veg”.
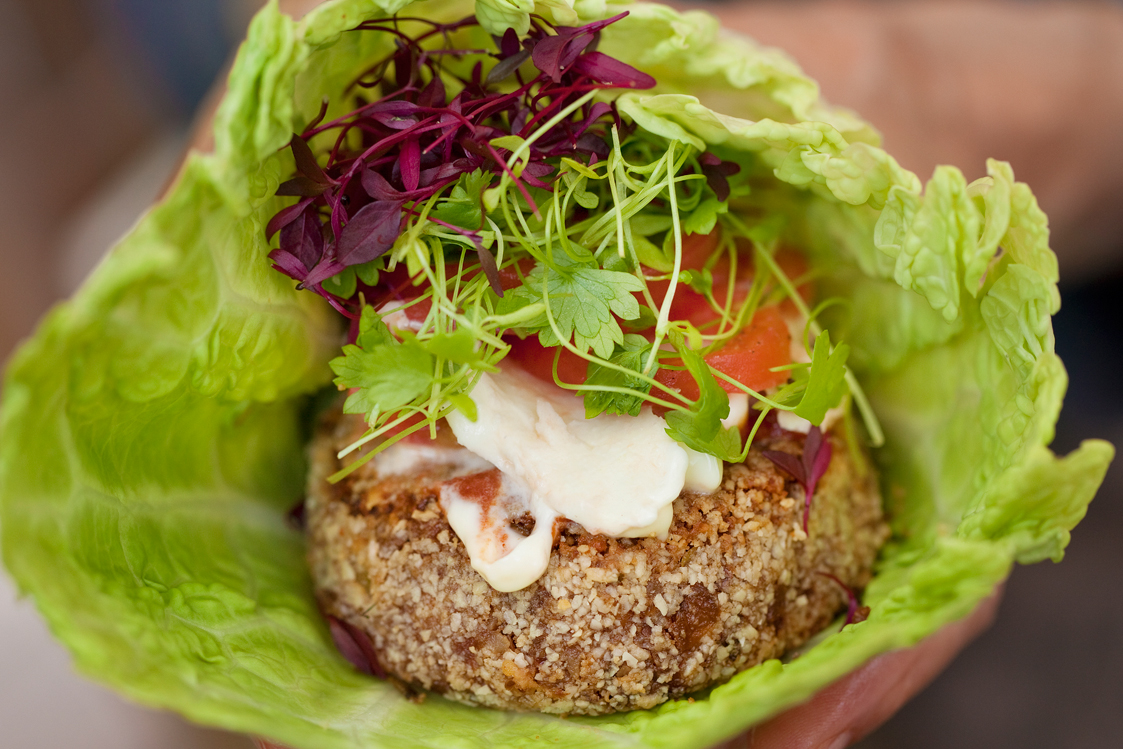
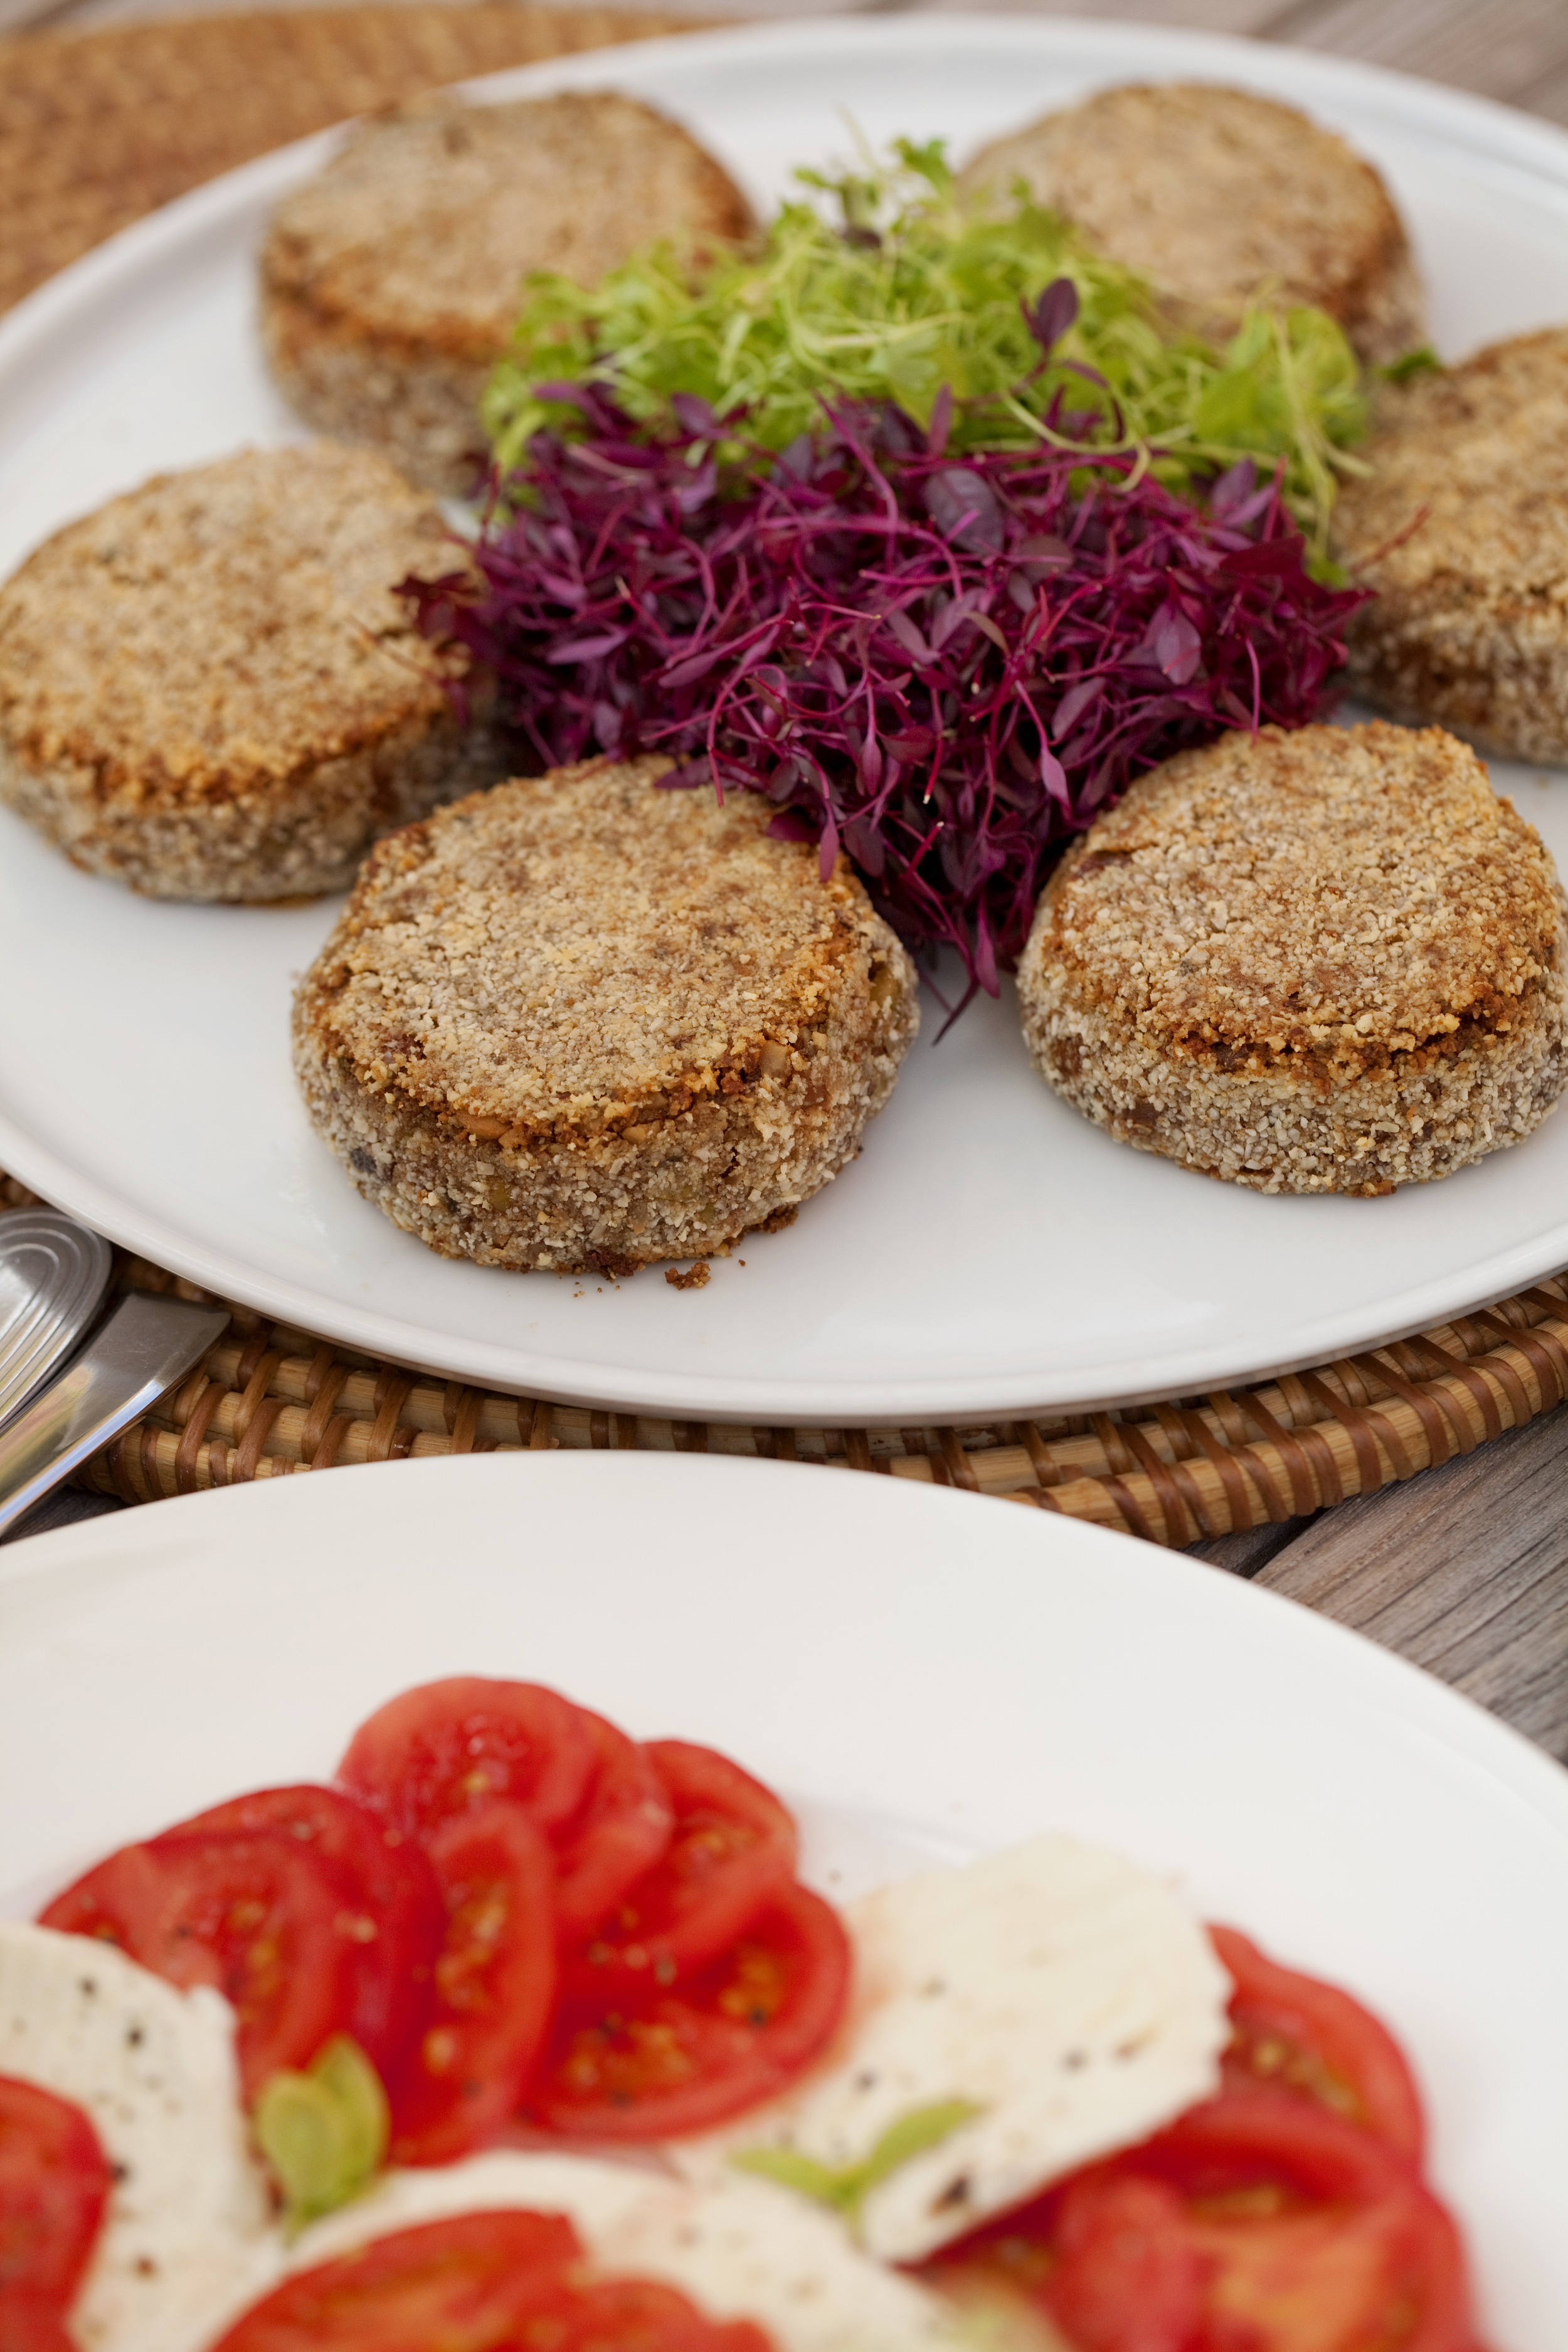
These meat-free, vegan Nutburgers are serious contenders for the best of alfresco or BBQ fare. With a full-on savoury taste profile and a better texture than ground beef or lamb, they might easily be confused with ‘sausage-burgers’ for uninitiated carnivores.
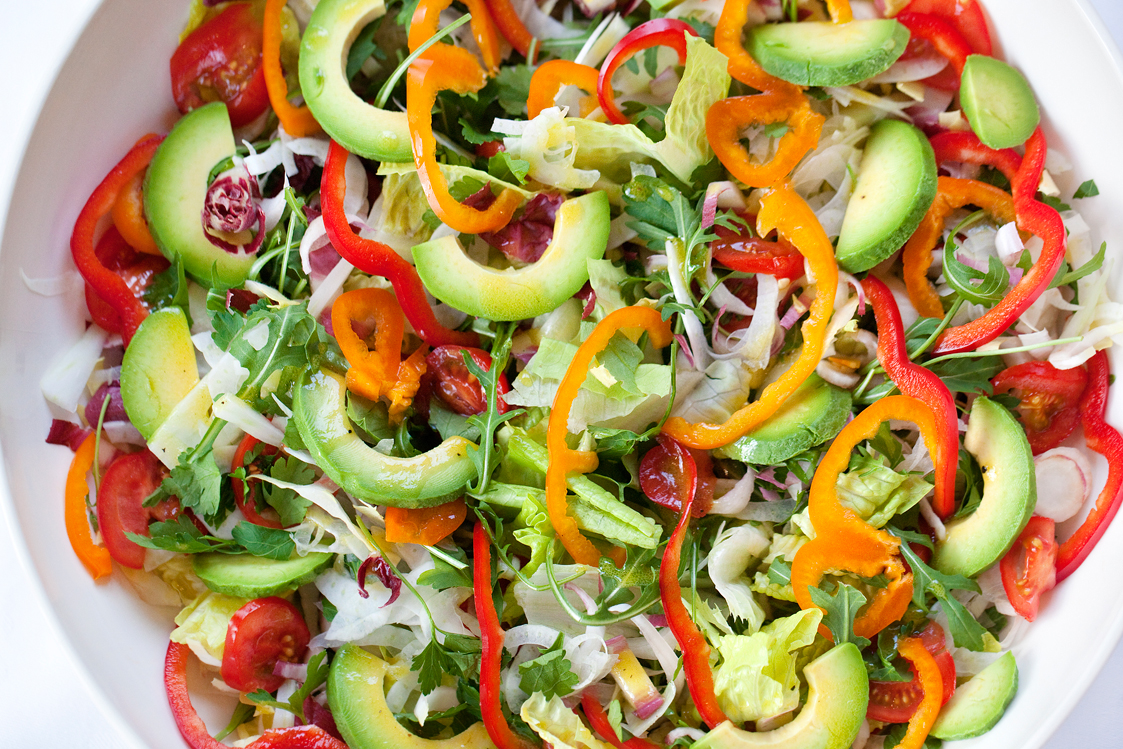
Keep the Primal/Paleo ethos intact by ditching the burger bun and wrapping them up in the biggest, freshest raw savoy cabbage leaves you can find. Top with your choice of dressing - tomato ketchup (is sort of obligatory), homemade mayonnaise, or spicy chutney. Serve with sliced tomatoes, avocado and a handful of micro-leaves for a lovely-looking, very filling, nutrient-dense, moreish burger that doesn’t hurt or harm any animal - a conscious lifestyle change that doesn’t add to the pain and suffering in this mad world. Walter Palmer-ites, take note!
Nutburgers (V) (Makes 12-13 burgers)
Ingredients
2 medium onions, peeled and finely chopped
2 sticks of celery, finely diced
100g organic butter or vegan alternative (M&S Simply range do a vegan-friendly sunflower spread)
250g chestnut mushrooms, finely chopped
1 tbsp organic ground flaxseed
2 tsp organic Marigold vegetable bouillon powder
2 tbsp Clearspring tamari soy sauce
2 tsp yeast extract (e.g. Marmite)
200ml filtered water
450g mixed nuts (I used raw organic cashews, walnuts, macadamias, brazil nuts and pistachios) - finely chopped
200g ground almonds
4 rounded tablespoons fresh mixed herbs (parsley, thyme, marjoram, rosemary etc.), finely chopped
Sea salt and freshly ground black pepper
To finish
75g ground almonds, to coat
Olive oil for shallow frying
Instructions
In a large pan, gently sauté the onions and celery in the butter (or vegan alternative) for 10 minutes until they are soft a just turning golden brown.
Add the chopped mushrooms and cook for a further 5 minutes until soft and most of the liquid has been driven off as steam.
Mix in the banana flour and cook for a further minute. Pour in the water and stir continuously over a medium heat until thickened.
Add the stock powder, ground flaxseed, tamari, yeast extract, mixed nuts, ground almonds, fresh herbs and salt and pepper to taste. Allow the mixture to cool before proceeding to the next step.
Tip extra ground almonds onto a large flat plate in readiness for coating the burgers.
When the burger mixture is cool enough to handle, form into 12 burgers - about 6cm (2½”) wide x 2 cm (¾”) thick, weighing approximately 100g each. N.B. Don’t make the burgers much bigger than this because they’re easier to manoeuvre and turn them over in the pan (without breaking up) if they’re smaller and more compact.
Coat the burgers in the ground almonds and place onto a clean plate. Cover loosely with cling film and store in the refrigerator until you’re ready to start cooking.
Cook on a lightly oiled flat tin (or frying pan) over the barbecue. Alternatively, if you’re not firing up the barbecue, gently fry the burgers in a little olive oil in an oven-proof frying pan over a moderate heat for about 3-5 minutes on each side, until lightly browned. Then place the frying pan in the oven (pre-heated to 190℃) for a further 8-10 minutes to heat through completely.
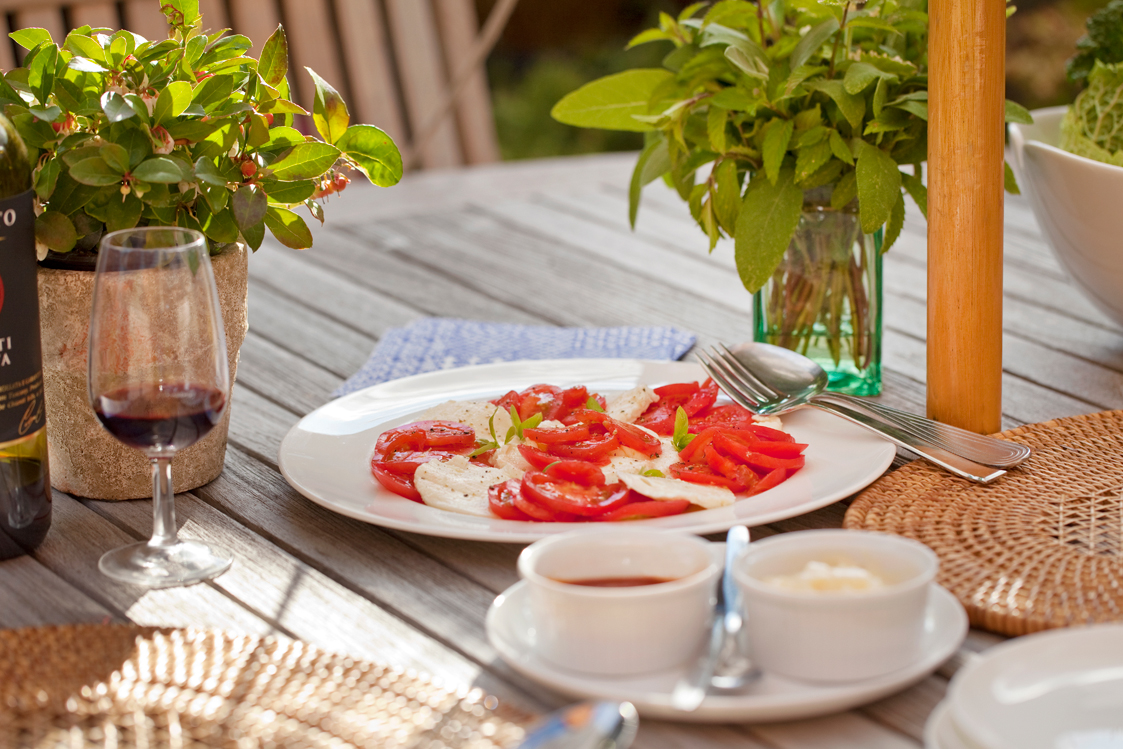
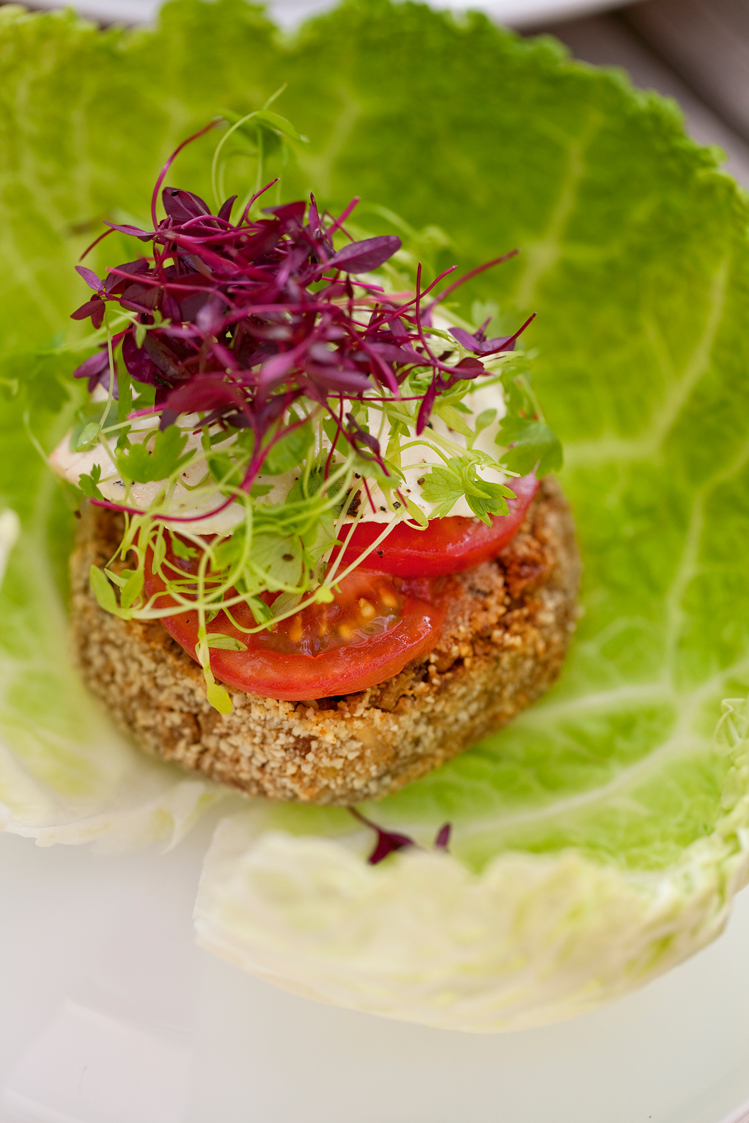
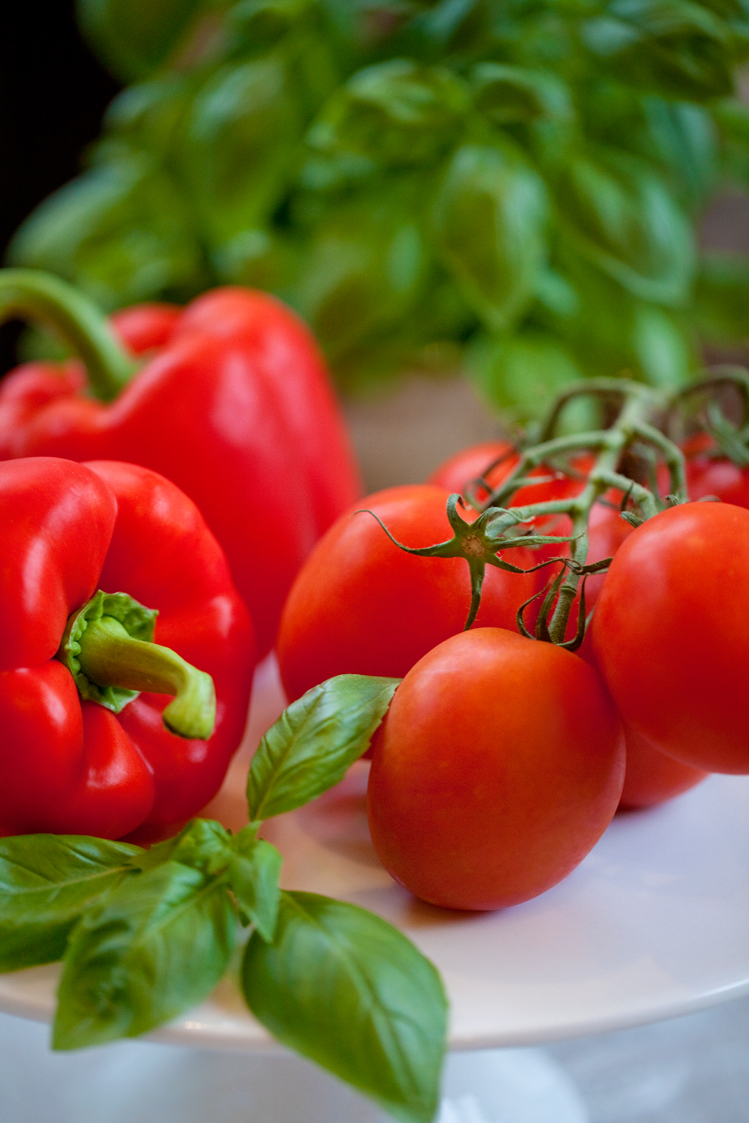
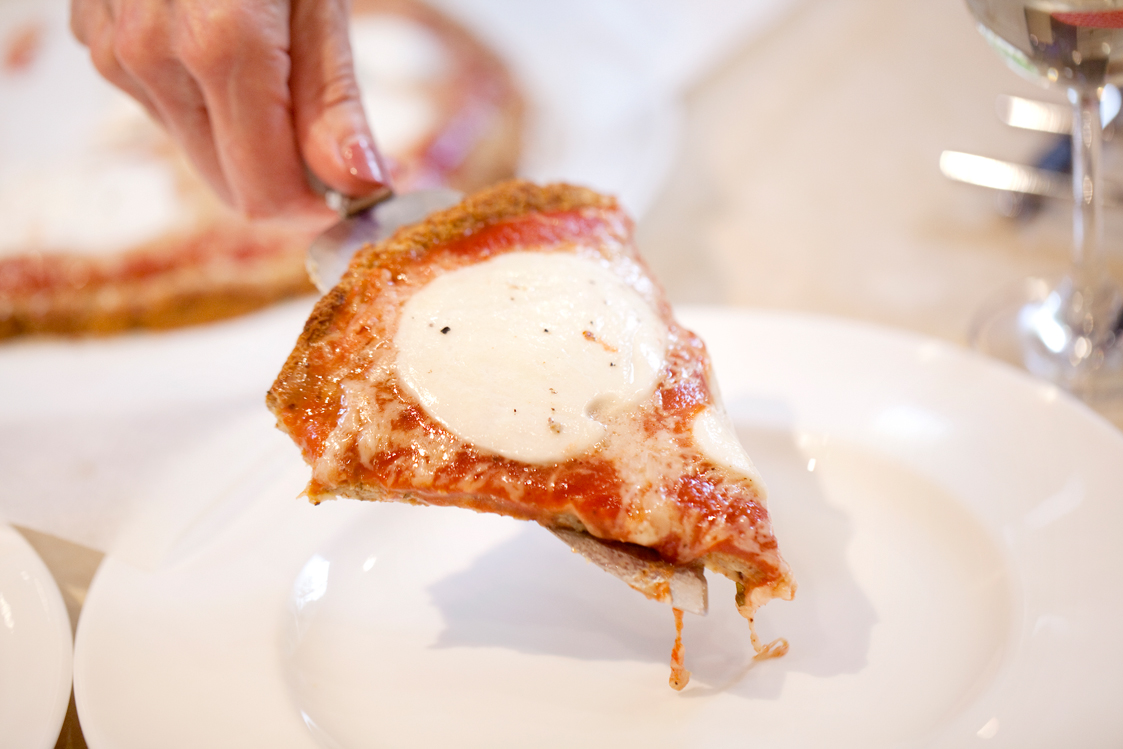
We topped the burger with ketchup and mayo, slices of tomato and vegetarian mozzarella and some pretty micro leaves, before wrapping around the savoy cabbage leaf. Knives and forks not needed!
Notes:
The easiest, quickest and least messy way to finely chop the mixed nuts is in a food processor. Ditto the mushrooms and fresh herbs.
To make this recipe suitable for vegans, I used ground almonds for coating these burgers. However, if you eat eggs and you have some 2-3 day old leftover Grain-free Bread vegetarians can convert this into panko-style breadcrumbs for a crispier coating.
To make panko-style breadcrumbs for coating:
- Pre-heat the oven to 140℃.
- Cut about 150g of grain-free bread (including the crust) into cubes. Using the coarse grater/shredding disk of a food processor, push the bread cubes through the feeder tube to make coarse crumbs.
- Spread the crumbs out onto a baking sheet in a single layer and bake for about 15-20 minutes until they are dry but not browned. Tip: To ensure the crumbs bake evenly, take them out of the oven every 5 minutes or so and turn them over with a spatula, then give the tray a good shake to level them out again before continuing with the cooking process.
- When the crumbs are completely dried-out (crispy but not toasted) remove them from the oven and allow to cool.
- Coat the burgers in the dried breadcrumbs and cook as above,
The burger mixture can be made 2-3 days in advance and kept covered in a refrigerator. It can then be shaped into burgers and coated with ground almonds/dried breadcrumbs the day you intend to eat them.
Carbohydrate 10g Protein 17g - per burger

Good food, wine, a generous tomato and vegetarian mozzarella salad and our nutburgers are the perfect partners for chilled-out al fresco dining.